A long while ago we were taught not to apply stain to any woodworking project until we’d filled in all of the tiny nail or staple indentations with air-hardening wood paste.
We’d then have to let it dry completely and sand it smooth.
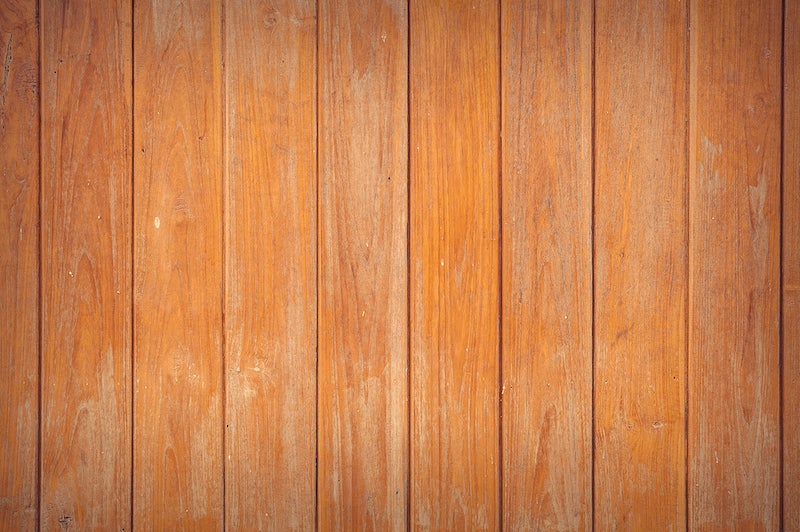
The result after staining and sealing was usually a very smooth and well-stained surface, but with the nail indentations practically SPOTLIGHTED by the way the wood filler either soaked up or rejected the stain. ( See image )

Every putty-filled sanded spot where we carefully used a nail set or sent in a brad or narrow staple could be seen from across the room as glaring, discolored blotches.
The discoloration would become even MORE pronounced when the sealer coats were applied.
One recommended way to avoid this is to purchase both your wood stain and a tinted wood putty from the same company, taking care to match up the correct tinted putty to the stain it is meant to be used with.
Take all normal steps to prepare the wood’s surface WITHOUT USING THE PUTTY yet. .and apply the stain. ( Yes . . the stain first. .let the nail holes soak it up as well it won’t matter.)
Allow full drying time. Next . . apply One coat of the final finish sealer. ( No putty yet!) Let that first coat of final sealer dry completely . . . Then . . .
Take tiny amounts of the tinted wood putty and smooth it into the nail or staple holes, removing all excess and smoothing it flat with your finger or a soft rag. Let this dry thoroughly and apply the final sealer coat.
Once that dries, the nail or staple locations will be FAR more difficult to notice than the blotchy wide patches of filler traditionally set in before the stain is applied.
If the coloring is right, they may just disappear entirely even when up close to the project.
As always, if you have scrap wood from making your project or if there are unseen surfaces on an existing piece, test out BOTH methods where the final results won’t show.